I’ve already created a few pochade boxes for oil painting and written about there here and here. But late last summer I began to see the utility of creating a similar set-up exclusively for watercolors. In fact, my field explorations in watercolor had originally inspired me to create something simple and efficient for oils, now the same occurred to me, but in reverse. Since we travel a lot and I like to do watercolors on these journeys, I put on my design cap. The idea was super slim and simple.
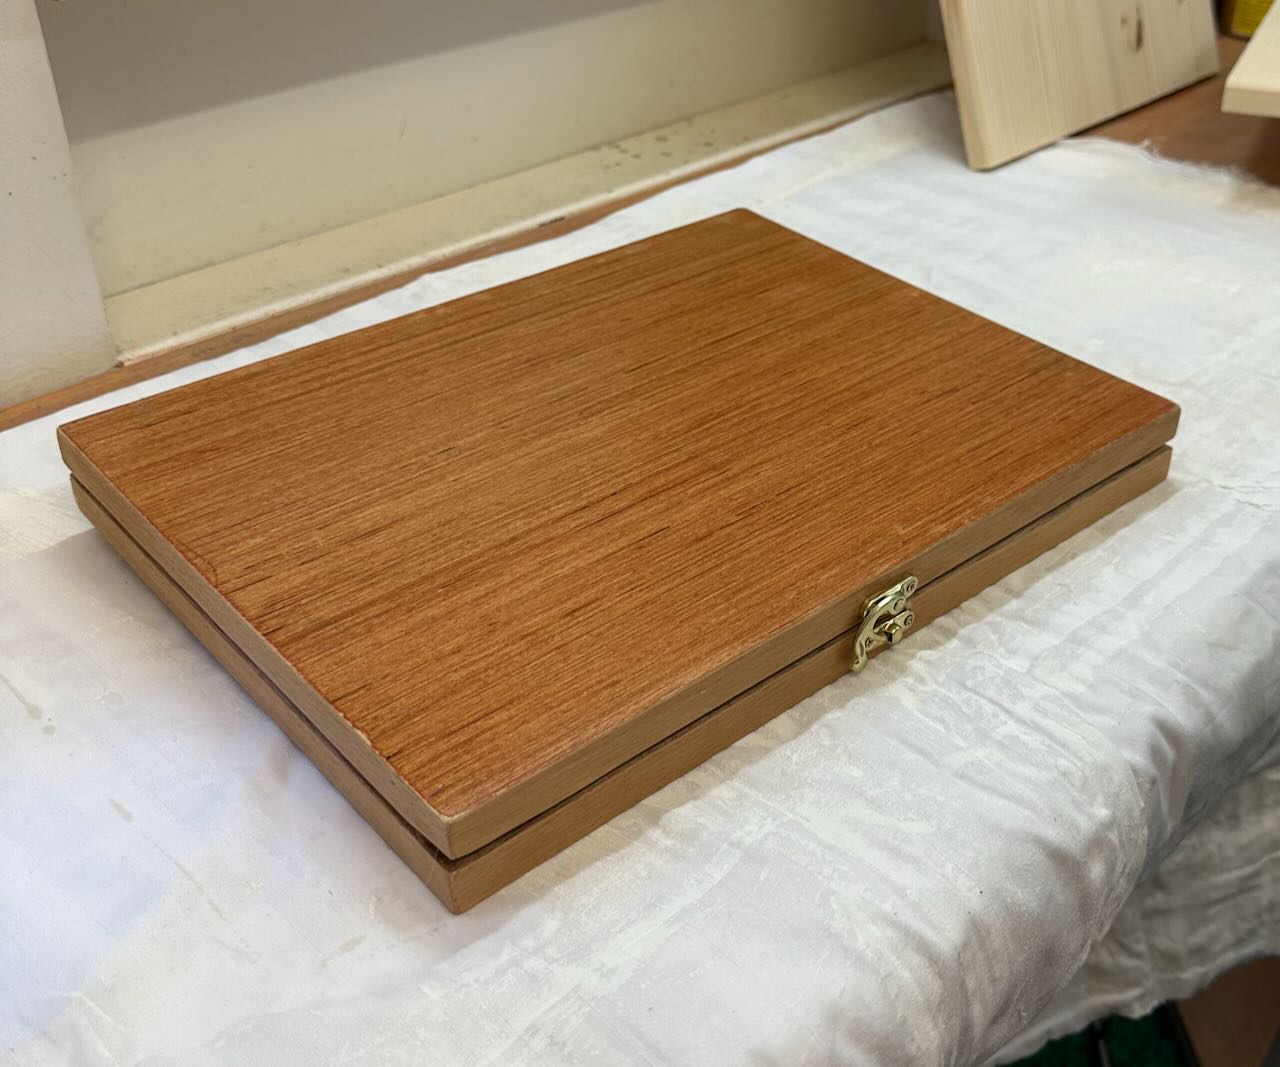
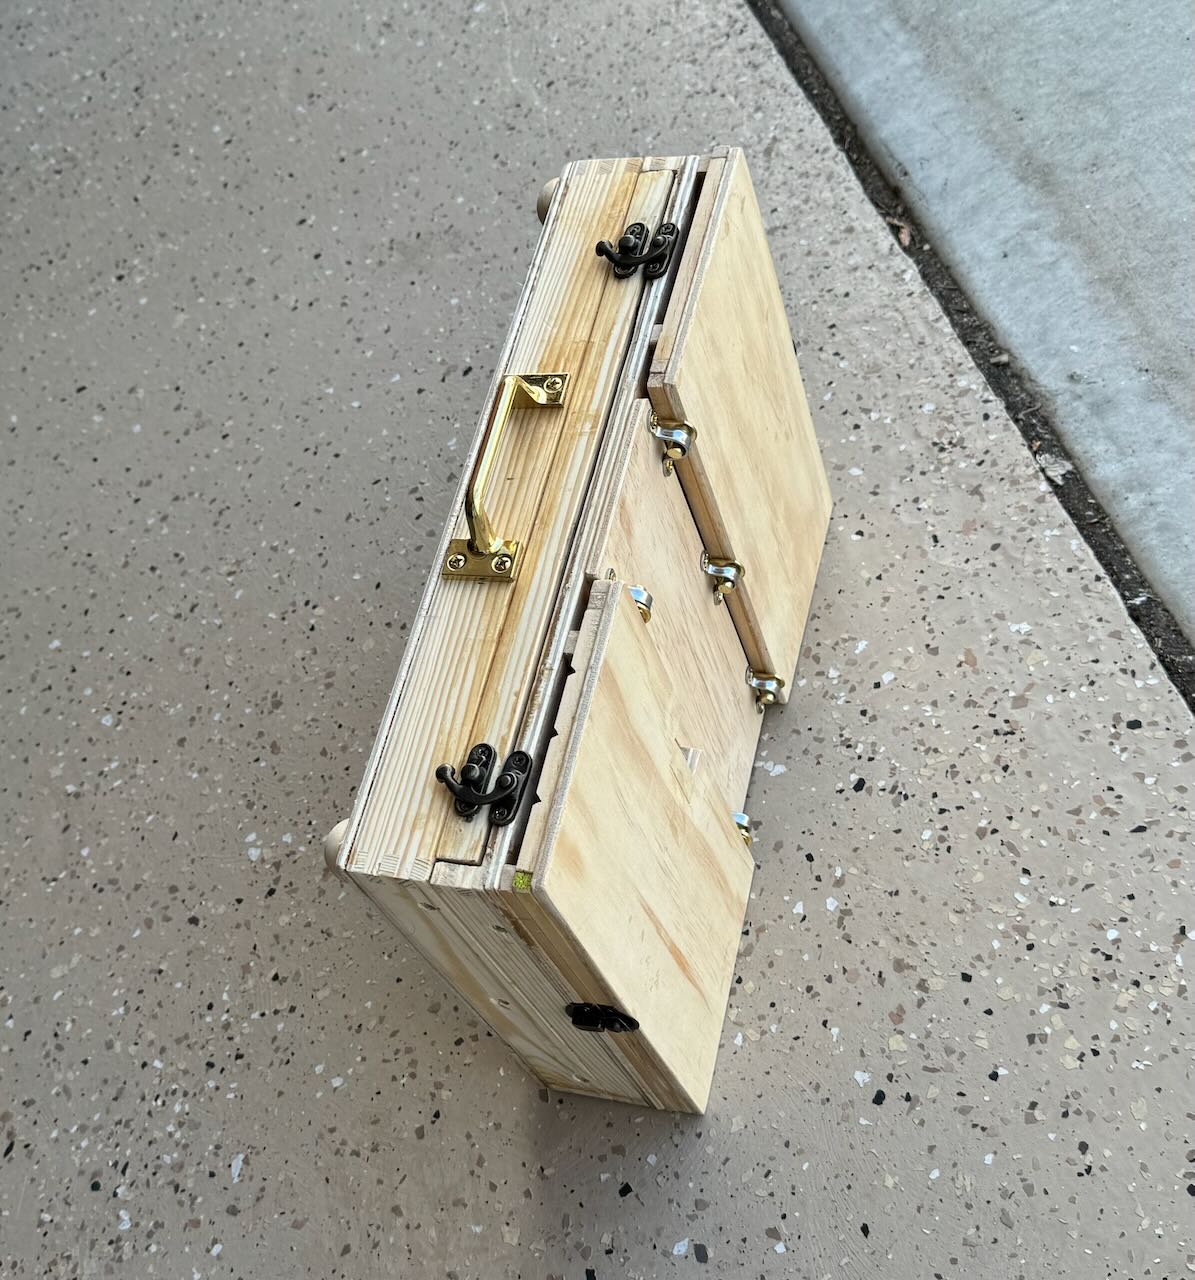
I cut two pieces of 1/4″ plywood board 3/4″ wider and deeper on both sides than a standard 9 x 12″ watercolor block. I glued in hardwood struts (5 cm x 1.8 cm) along all sides, cut to the width and depth of the plywood, as I wanted to nest a standard block inside the lid. Then I hinged it at the rear with a piano hinge (which will also create the easel’s tilt). This created a slim attractive box. I screwed in a little clasp (from Hobby Lobby) on the front side to keep it closed. Fixed adhesive magnets to the interior along the base, so that a color box, water cups and pencil box could be placed there while working.
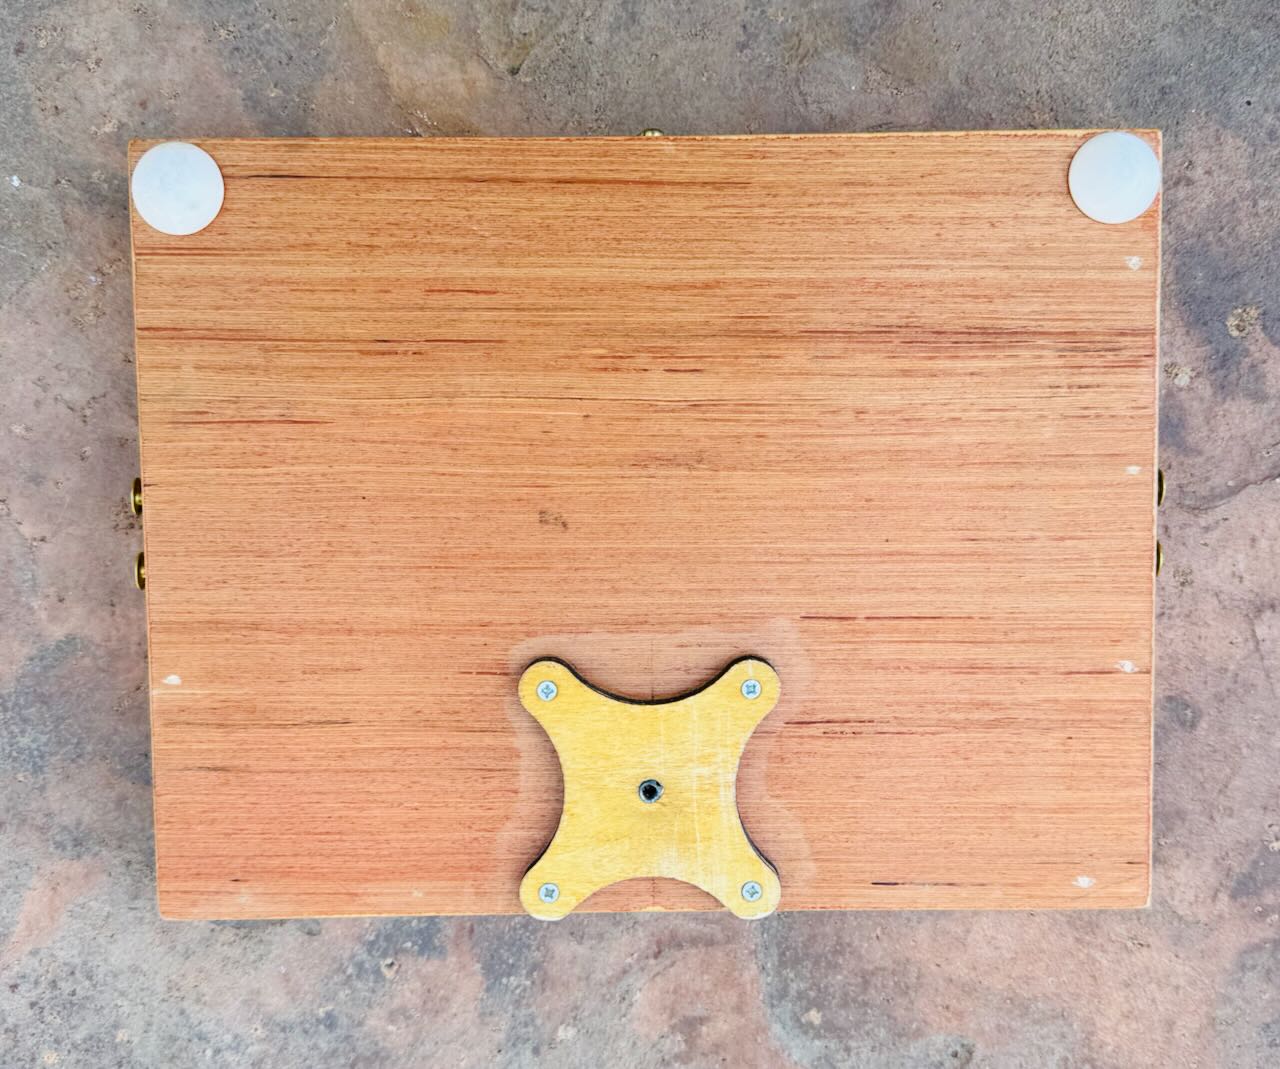
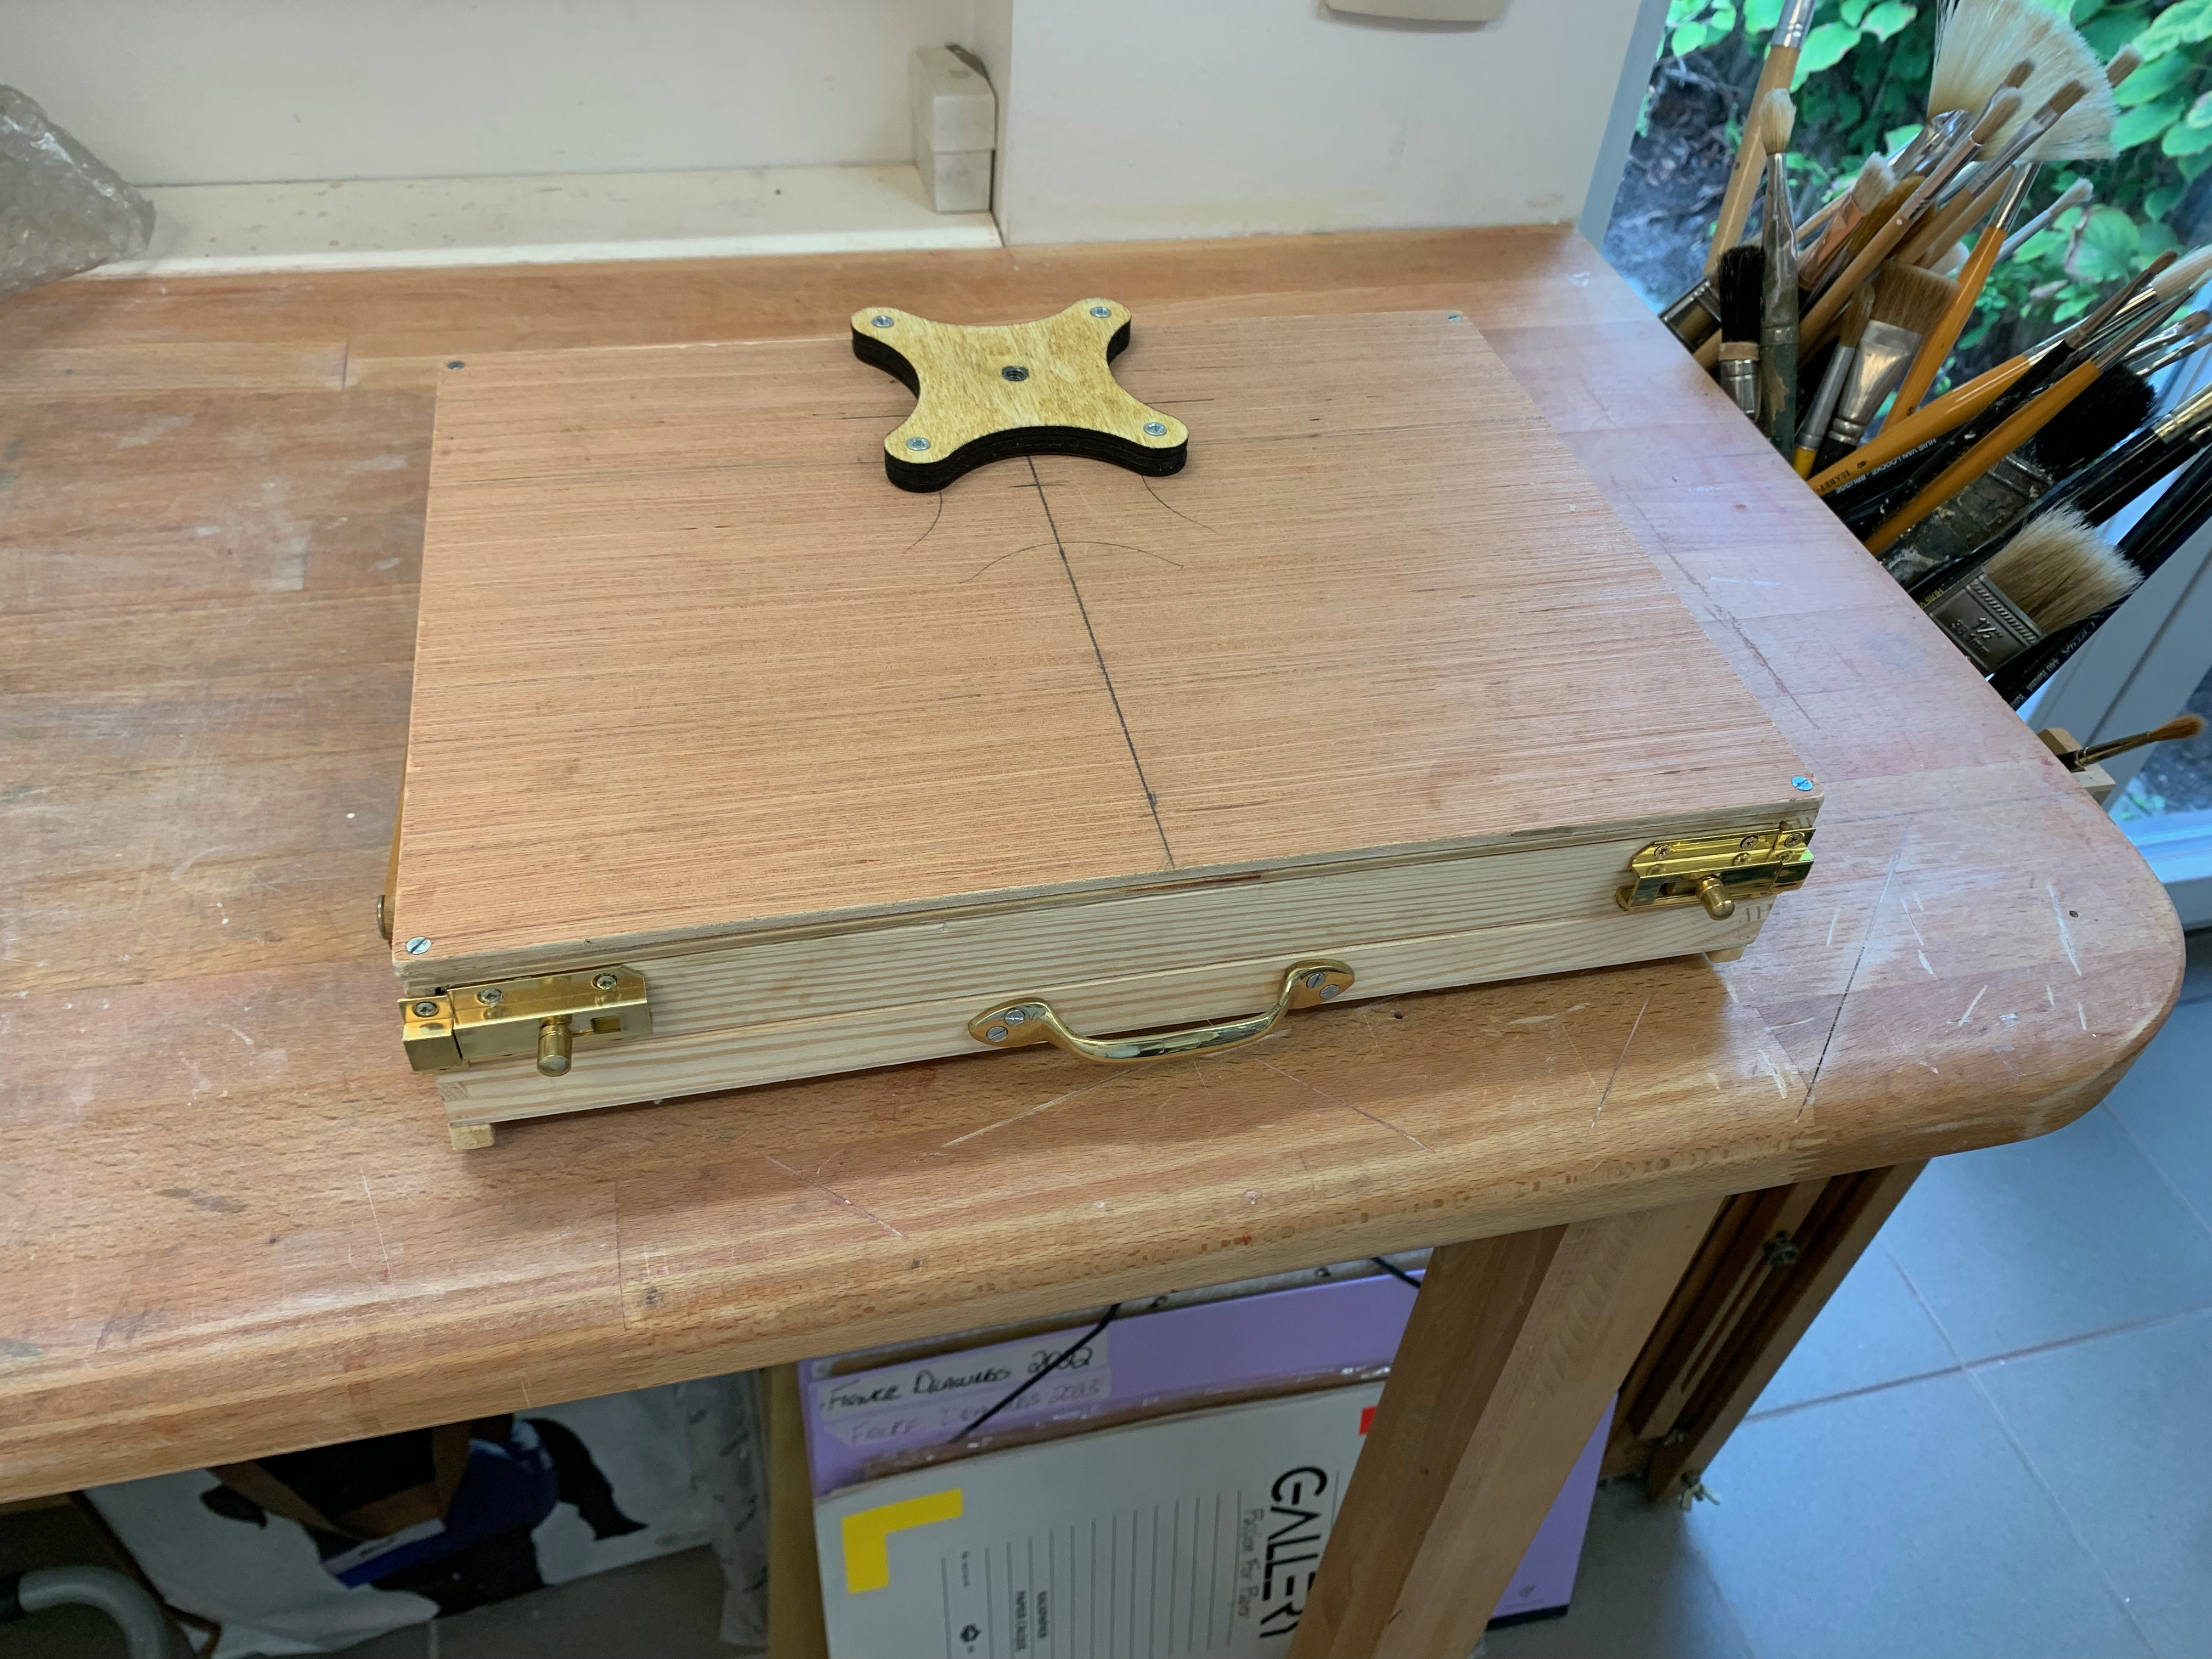
On the underside I placed a 1/4″ thick tripod bracket from Jackson’s Art Supply. This allows me to attach a standard 1/4″ 20 thread camera tripod. I also placed some 1/4′ depth round feet to the underside (along the front) so I could work at a flat table top, too. That was version I. It was just about 1″ thick. Nice!
After my first few field tests I determined the need to change a few things. I wanted to create additional depth in the interior so that the watercolor color box, cups and drawing box could fit inside not only when working but also when traveling, that is, when the lid was closed. This meant adding an additional 3/4″ or so of space between the two halves. I did this by glueing additional struts on the bottom half. I also added small removable angle brackets along the sides to keep the easel top from closing while working. Creating those brackets with my minimal tools and skill set was defo a challenge but in the end I came up with something I think quite serviceable – and elegant (enough).
Our recent trip to the Grand Canyon was a test drive. It yielded up a few watercolors here and here along with a few happy working surprises. Having a box/easel freed up my both hands (which previously had been needed to hold the watercolor block) allowing me to draw with my whole arm (not just my hand) – and at a comfortable distance. That’s huge!!!! I was able to use my whole body to capture gesture (so it felt different), while also achieving more distance for judging my progress. I used a charcoal pencil for my initial sketch as it’s quick and sensitive, but way too dark and smudgy for watercolors. So I lightly erased that and traced in a linear drawing using a .2 H graphite pencil.
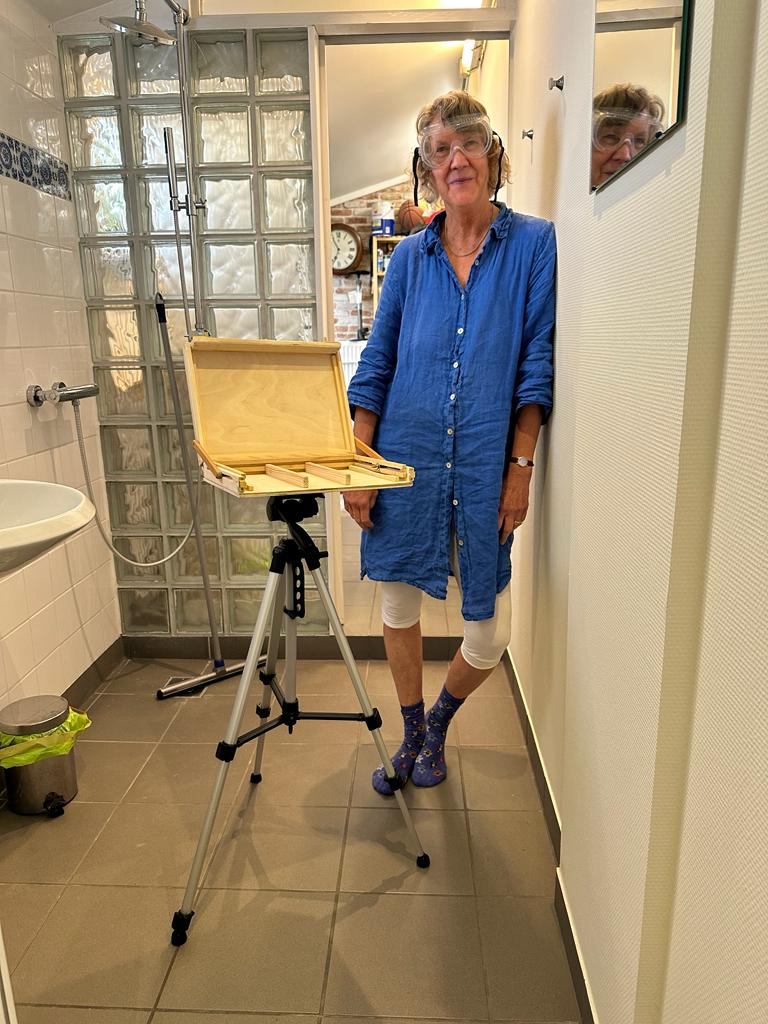
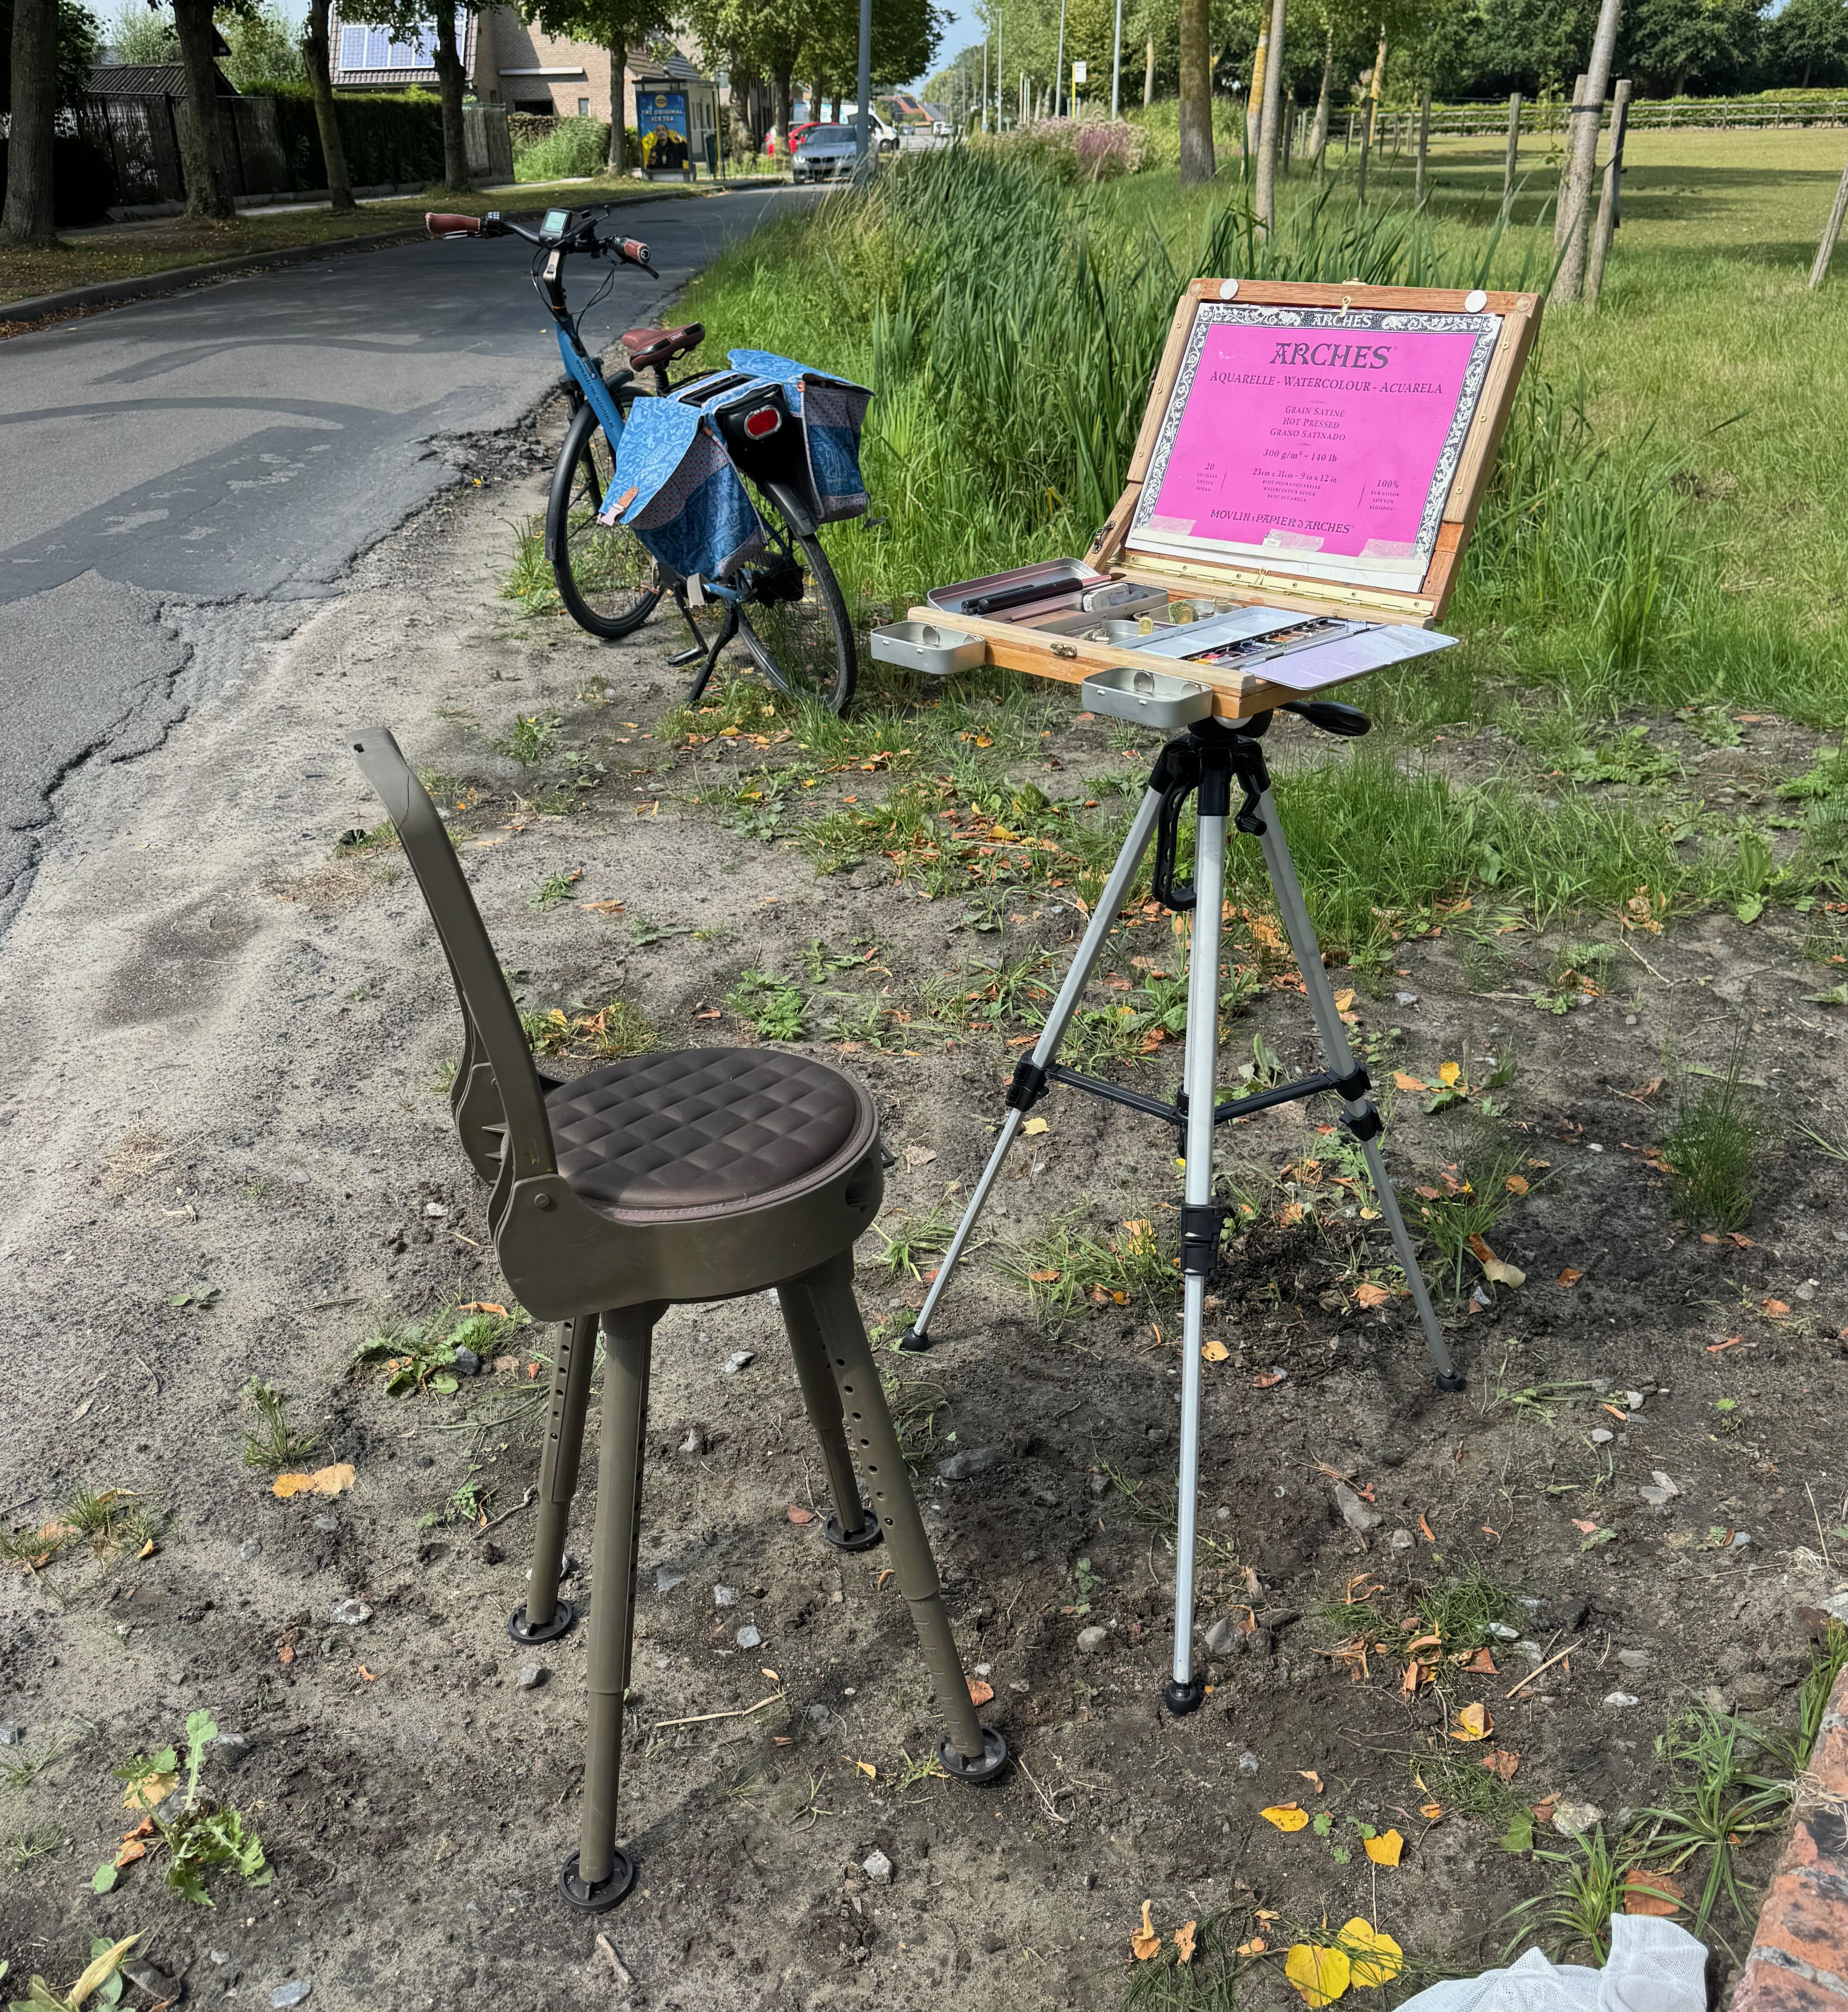
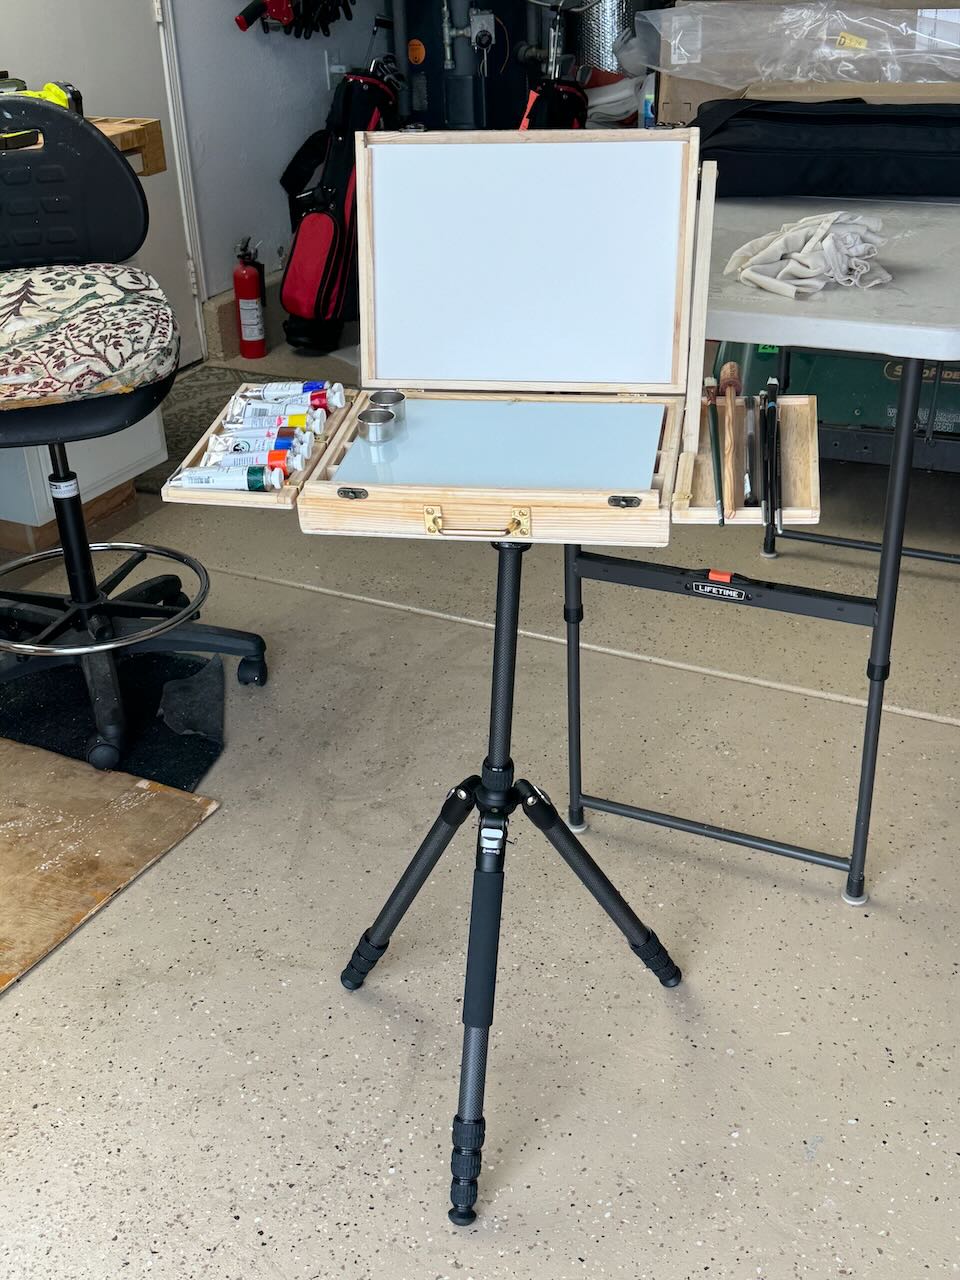
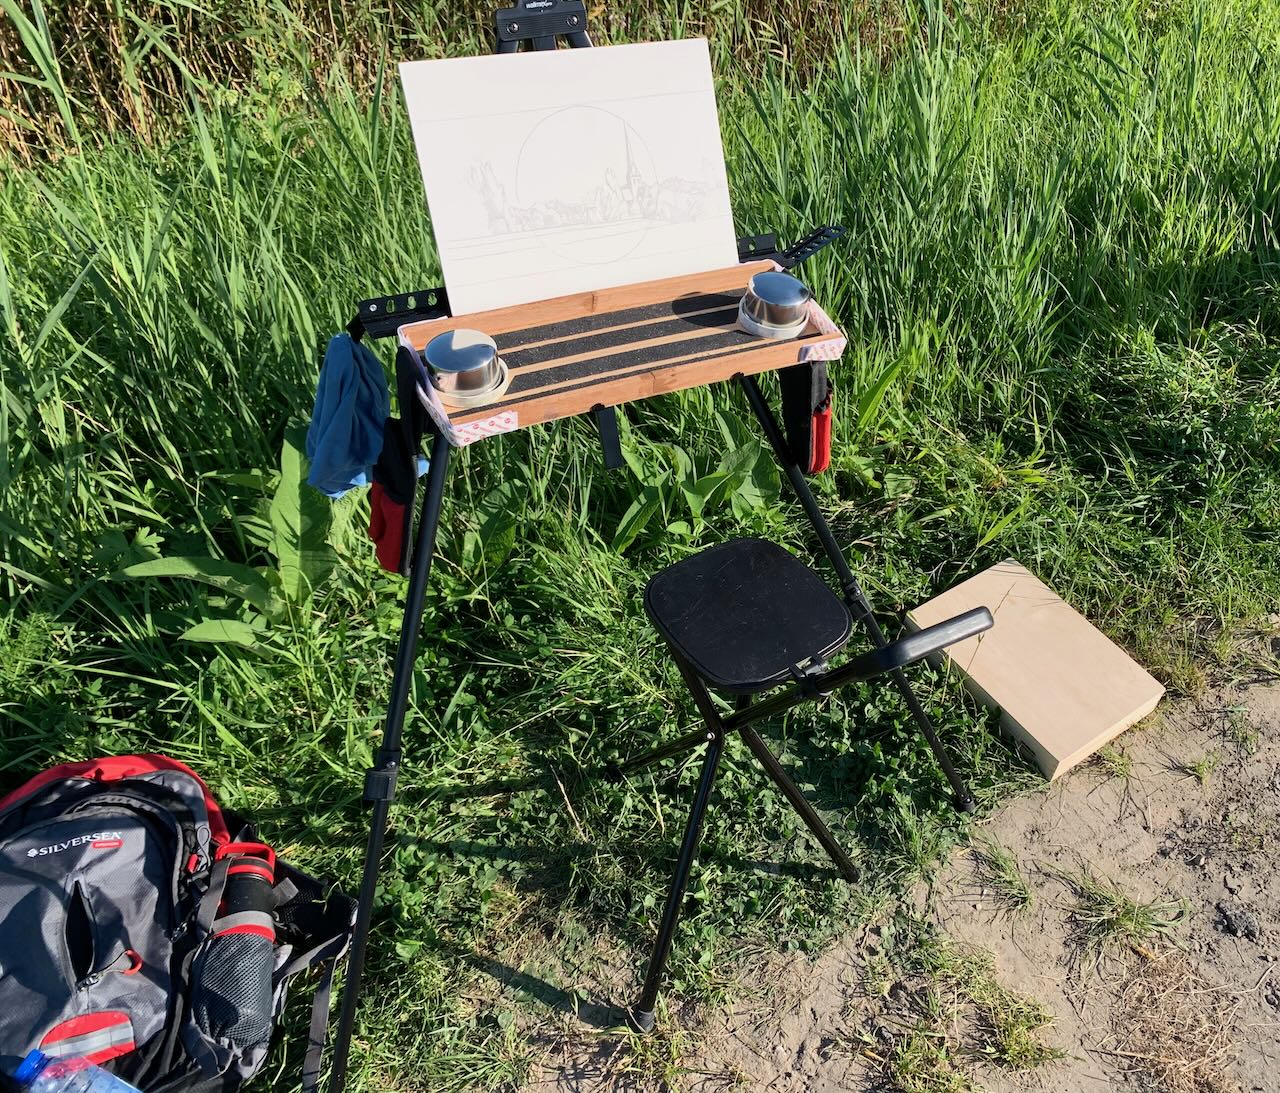
I recently upgraded this set up further to allow for a vertical orientation (of my watercolor block) as needed. Also I attached magnets to the front side so small water trays can be stationed there while working. The in situ pic here shows my folding chair, box and tripod from a recent session. Everything collapses and packs up nicely in the saddlebags of my e-bike. Adventure ho!
Creating a pochade box for oils, version II (March 2024)
March 30, 2024
After creating a pochade box for my studio in Belgium, I wanted to create a similar one for my studio in California. While attending a course called “preparation for landscape painting” at the Watt Atelier, I picked up a few tips and tricks.
Primarily, they suggested sourcing a good glass 9 x 12″ palette with a while underside. Important! Since my previous palettes had been wood toned, now I could finally see the colors I was mixing! Size-wise it was just another reminder of how important it is to work with standard sizes. Your gessoed boards, palette, pochade, daypack not only can be easily sources they also can easily interact, while frame sizes for the end result are cheap and simple.
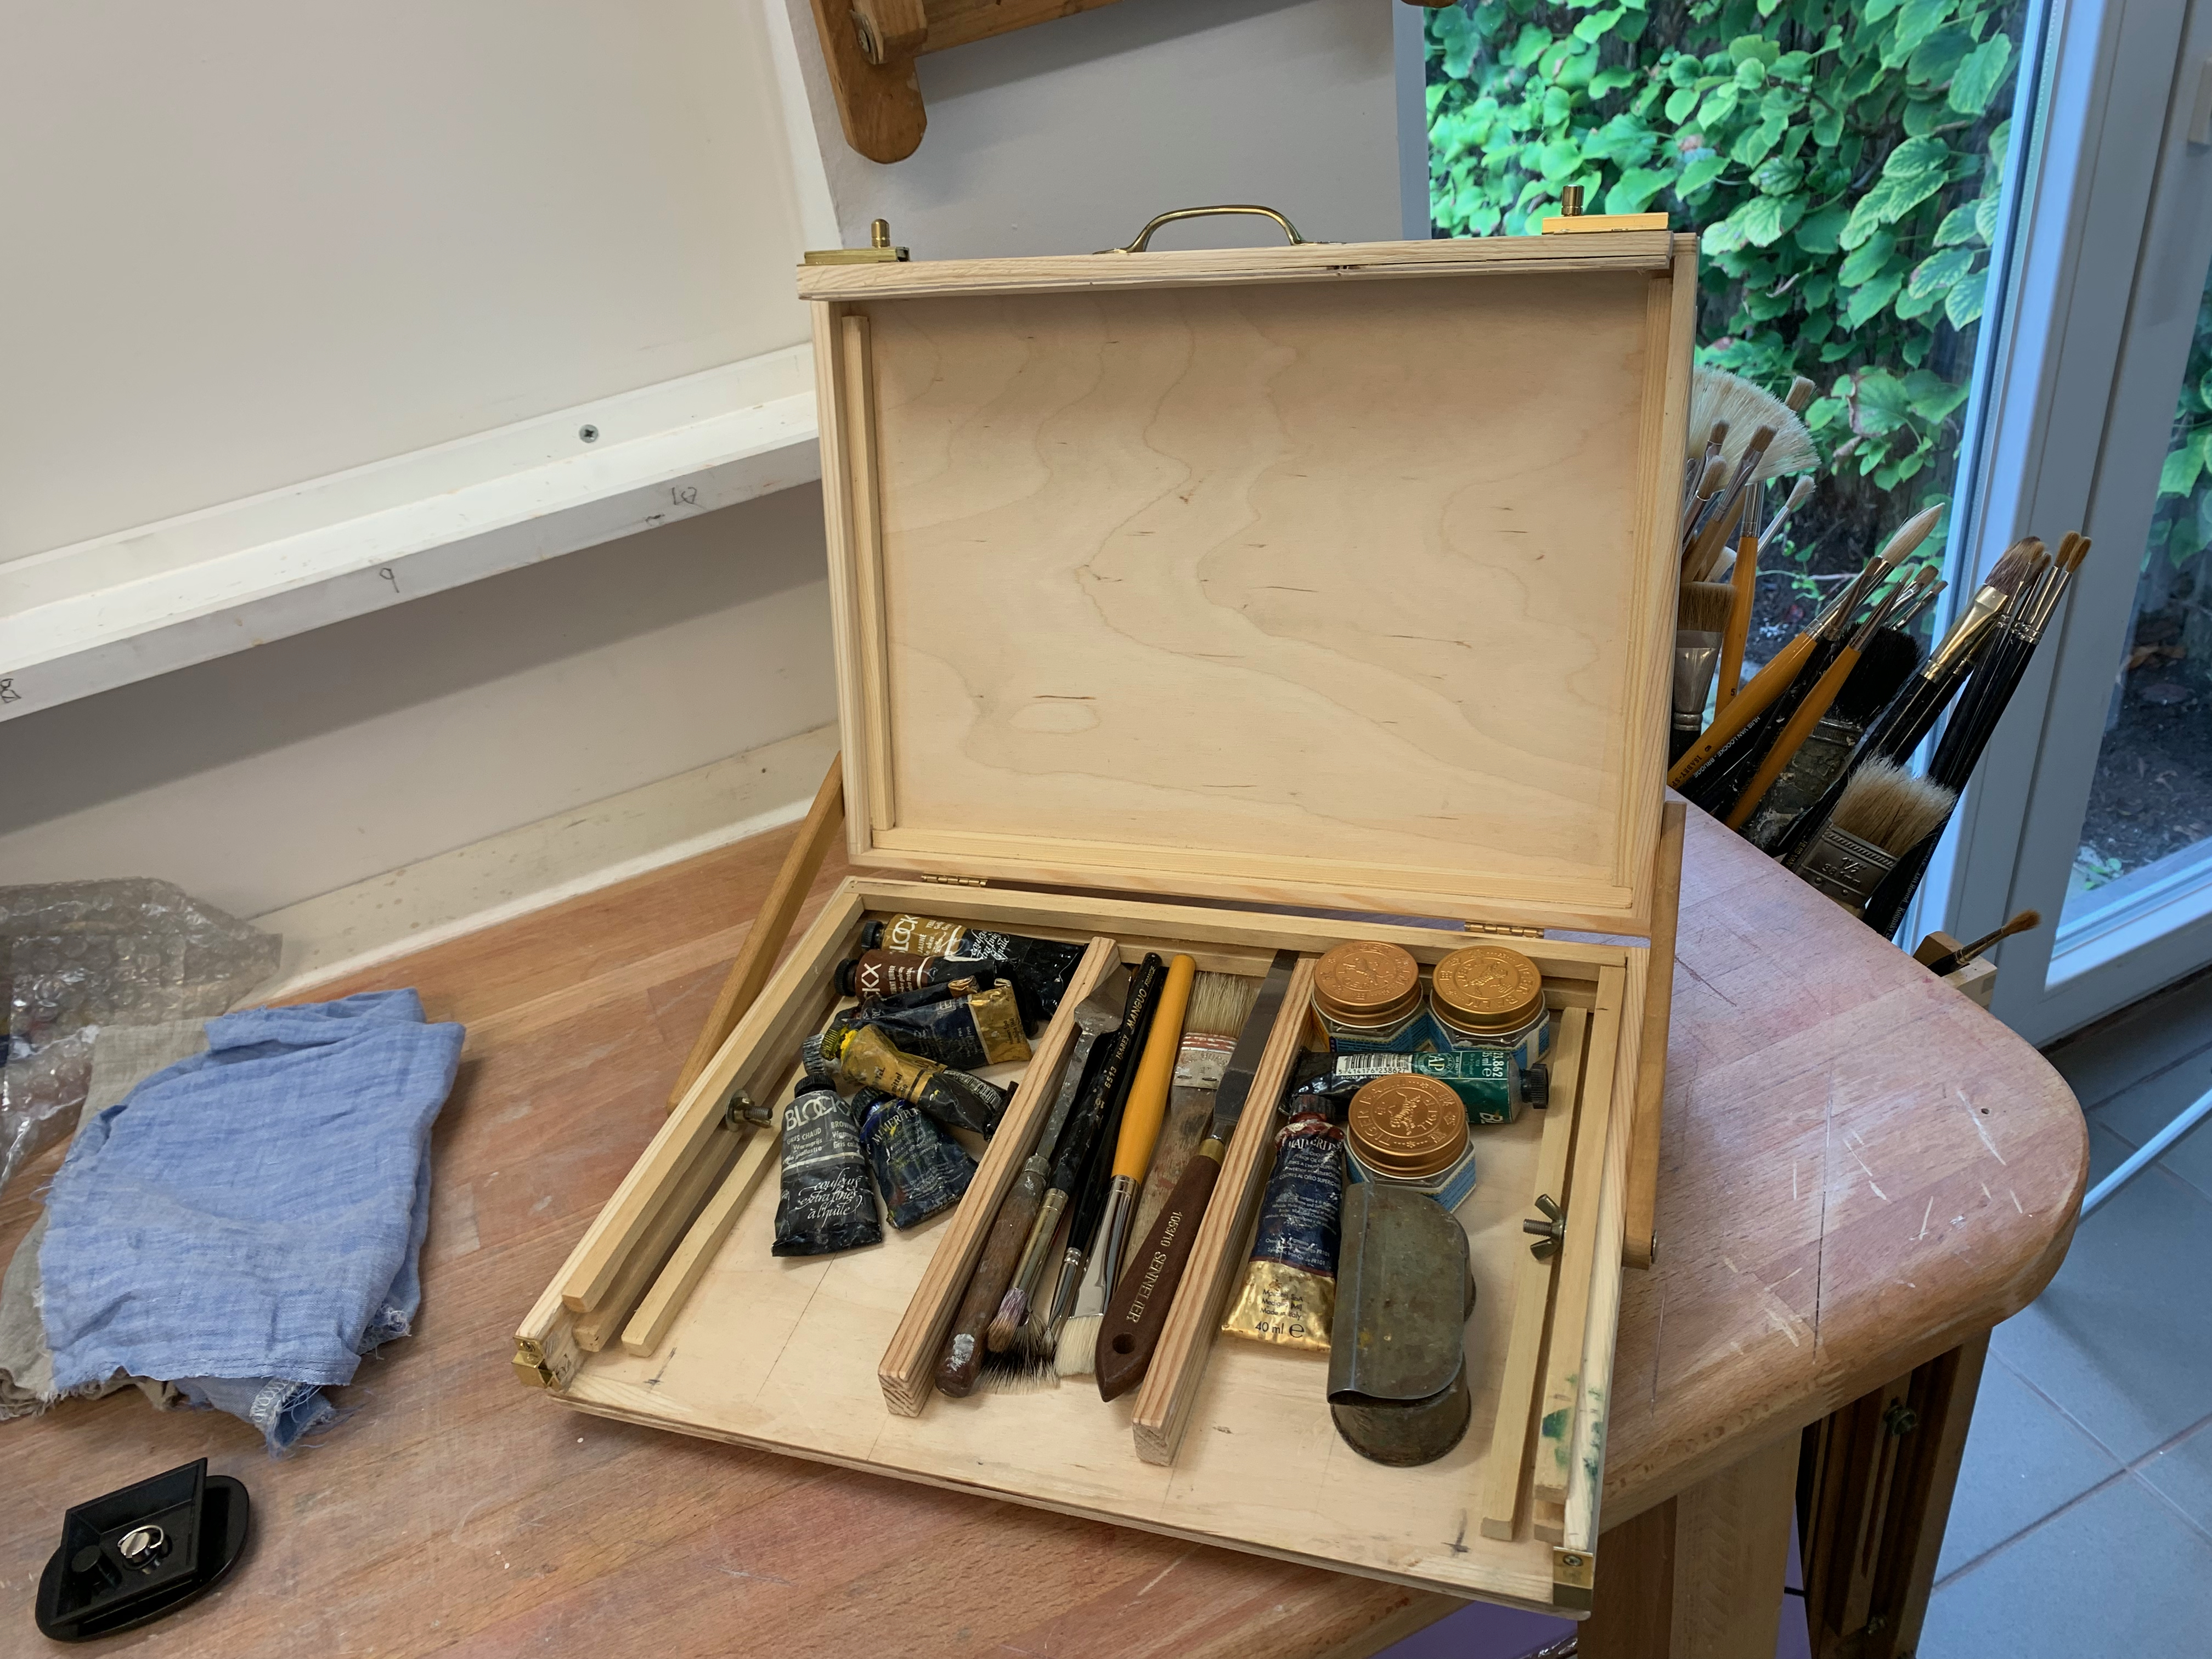
I purchased an A4 box from Amazon and brought along a few of my tripod brackets from Jackson’s Art Supply. Since I did not have any hardware for fixing the top of the easel at an angle, I had to improvise with a side bar. Additionally, I realized how important it would be to have expandable side trays for holding paints and brushes while working. They would need to nesting later for traveling.
In the end, just before we returned to Belgium, I came up with this. Neither version had been field tested however, between the two I had made the following changes: side trays, easel arm and glass palette mentioned above, but also the orientation of the compartments underneath. (I had changed them from vertical to horizontal in VII so as to function better for brush and tube storage.) I knew I’d want to make similar adjustments (to version I) once we got back to Bruges but that was entirely possible.
Now truly, if only the weather would cooperate, I was ready for a summer of en plein air painting.
Creating a pochade Box for oils, version I (November 2023)
November 3, 2023
Last summer I began to return to en-plein-air painting in the environment around Bruges. At first, just watercolour. I would walk or bike to my location of choice. As my explorations expanded, my e-bike allowed me to get to remote locations, because my bags could easily hold all my stuff: a light weight field easel, a folding chair, a watercolor box, brushes and pad. No problem, though everything was kinda flimsy, makeshift and easily toppled over by the wind (or even me ;-)). 😉
Then I began to dream of doing oils (once again) yet in a similar fashion. I already had a beautiful Mabef wooden field easel but it weighed about 30 pounds and couldn’t be transported by e-bike. Primarily for that reason I had given up on my en plein air explorations. (I don’t drive a car much around Bruges, also because I have MS, I really can’t very walk far or stand for very long, but e-biking works). So maybe, just maybe, I could use the same condensed setup I now had for aquarelle and just substitute a (condensed) quantity of oil tubes, potions, palette and brushes instead? I already knew, the biggest plain-air challenge (besides the act of painting itself), was transporting a wet oil painting back home without smearing, so that was design challenge #1.
I bought an A4 (9 x 12 x 2″) wooden box on Amazon. The top section was 1/2″ deep while the bottom section was 1 1/2″ deep. I cut a slice out of the front along the bottom section and glued that insert to the top lid. This would could potentially nest a wet gessoed panel. I then glued thin runners inside along the sides of the bottom section. This created a box, allowing my thin gessoed panels (and palette) to seamlessly slide in and out, keeping everything from smearing, while storing tubes and brushes beneath. The lid could close and everything remained in place. My first foray with this system worked out fine. Nothing smeared (though my metallic field easel proved far too flimsy to function as an easel).
I began to dream of further improvements. Could I use the upper section of the box itself as a field easel? How to mount it? And to what? When attached, how to tilt the lid to provide a stable angle for painting? Would I then be able to carry my paints, palette and brushes in the bottom section of the box? If so, could I still keep one painting protected during transport? And what about carrying a wet palette, would that be possible? Above all I wanted to design an elegant, simple solution which could minimise the amount of gear I had to carry.
The Tripod and Mount
After some surfing around I determined that a standard camera tripod is fully adequate to function as an easel. It has a detachable mounting plate with a projecting 1/4″ bolt, consisting of 20 threads. You just need to match that plate to a bracket able to receive the bolt, affixed to the underside of your box. For starters I bought a tripod from a local appliance store. Then I looked around and sourced a beautiful bracket from Jackson’s Art Supply in England. Affixed to the box’s underside, it can take that 1/4″ 20 thread bolt. I just needed to laminate an extra piece of 1/4″ plywood to stabilize the base.
In the end I had something like this, ready for a test drive. But by now it was the beginning of November, end of the painting season. That all important test drive would have to wait for the spring.